Aioli Recipe for Sandwiches
Highlighted under: Exotic Delights
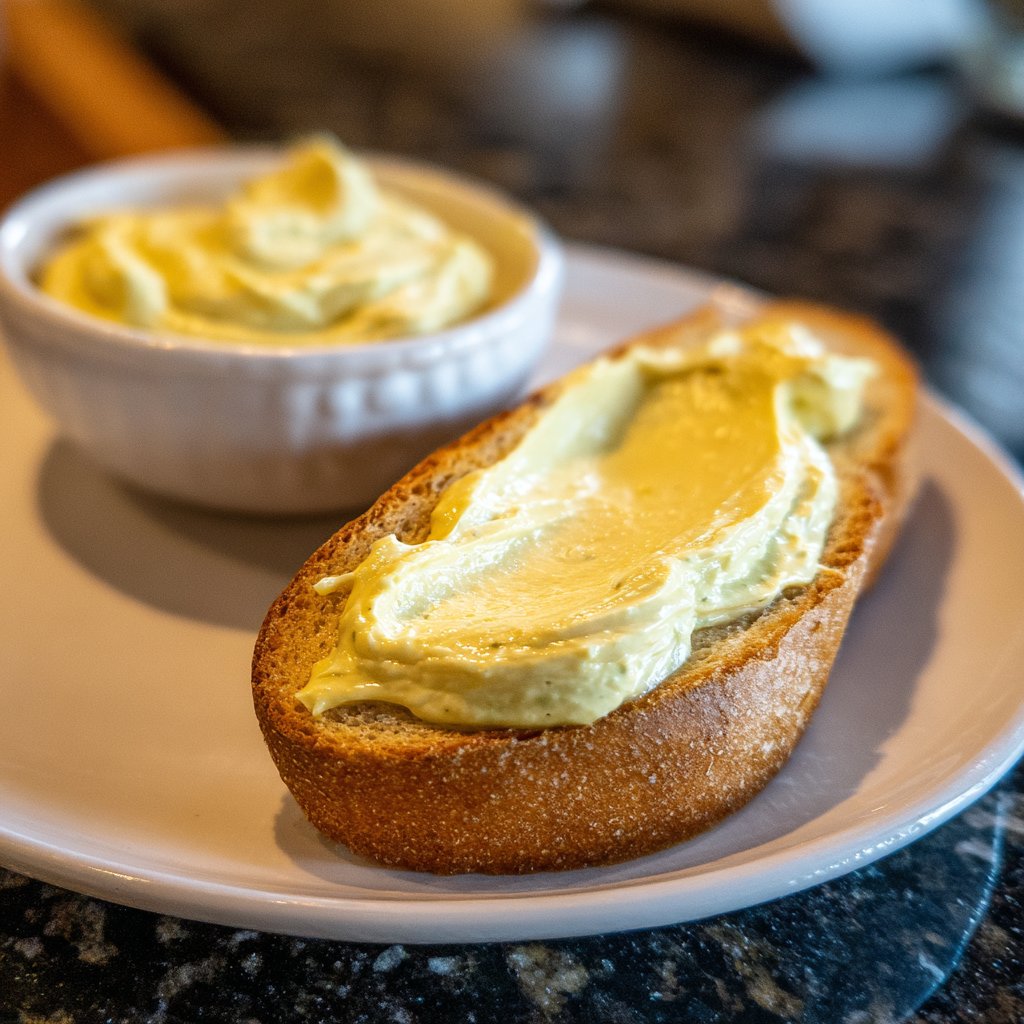
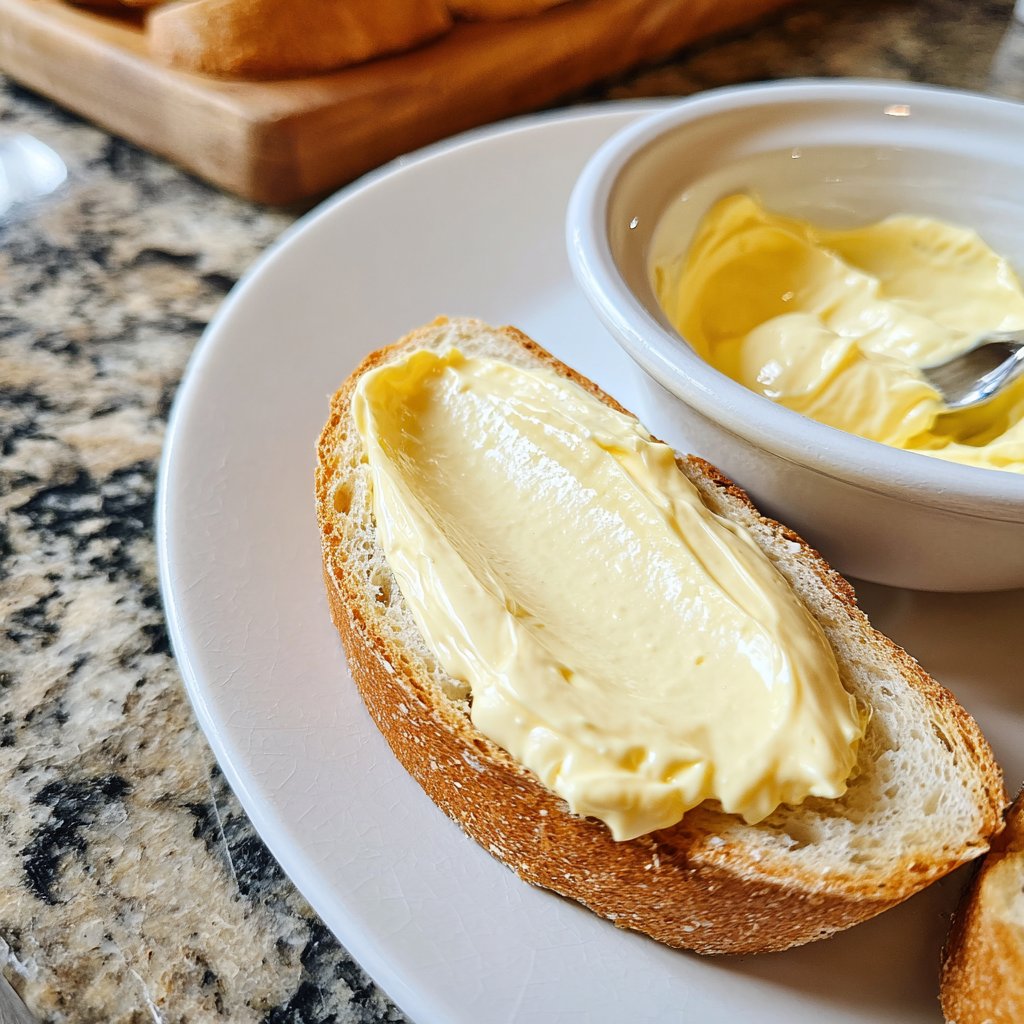
I absolutely love making aioli, especially when it comes to enhancing my favorite sandwiches. The rich and creamy texture, combined with the garlicky flavor, creates an irresistible spread that transforms a mundane meal into something special. It’s surprisingly easy to make, requiring just a handful of ingredients that I often have on hand. Whenever I spread this aioli on my sandwiches, I can’t help but feel satisfied with my culinary skills, and I know my guests appreciate the delicious upgrade too.
When I first experimented with making aioli, I was amazed by how a few simple ingredients could come together to create such a flavorful condiment. I decided to use fresh garlic, egg yolk, and a good quality olive oil, which not only added richness but also a hint of sophistication to my sandwiches. It was a game-changer!
One tip I found super helpful is to whisk the aioli continuously as you drizzle in the oil. This technique emulsifies the mixture perfectly, resulting in a smooth and creamy texture. Once I mastered this approach, my aioli had the professional touch I was aiming for!
Why You'll Love This Recipe
- Creamy and garlicky flavor that elevates any sandwich
- Simple ingredients that are easy to find
- Quick preparation time, perfect for busy days
The Importance of Fresh Garlic
Using fresh garlic cloves in your aioli not only enhances the flavor but also ensures maximum pungency and health benefits. Minced garlic can release its natural oils, which are crucial for achieving that bold garlicky punch. If you find that raw garlic is too overpowering for your taste, you can lightly roast the cloves before mincing them for a mellower note that still compliments the richness of your aioli well.
When mincing garlic, a sharp chef's knife is essential. Aim for a fine mince to allow the garlic to blend seamlessly into the aioli, helping to prevent any large chunks that could disrupt the creamy texture. A good technique is to sprinkle a little salt over the minced garlic and use the side of your knife to mash it into a paste, further releasing its juices.
Mastering the Emulsification Process
Emulsification is the technique that transforms your mixture from a collection of ingredients into a smooth and cohesive aioli. It's important to add your olive oil very slowly at the beginning. Start with just a few drops, whisking vigorously as you introduce the oil; this encourages the egg yolk to bond with the fat from the oil. If you pour in the oil too quickly, the aioli may split, rendering it unusable. If this happens, you can rescue it by starting a new egg yolk in a clean bowl and slowly whisking in the split mixture.
The ideal consistency of your aioli should be similar to thick mayonnaise. You’ll know you're there when the mixture holds a ribbon on the surface before sinking. If you desire a lighter texture, you can also incorporate a teaspoon of warm water at the end, whisking until you achieve your preferred consistency.
Storage and Serving Suggestions
Aioli can be made ahead of time, which is incredibly convenient for meal prepping. Store it in an airtight container in the refrigerator, where it will keep for about three to four days. Just be aware that the garlic flavor may intensify as it sits, so adjust accordingly if you plan to use it later on. For those who love culinary experiments, consider infusing your aioli with other flavors by adding fresh herbs like dill or basil, or even a pinch of smoked paprika for a subtle smoky twist.
When it comes to serving, aioli isn't just for sandwiches. It pairs wonderfully with roasted vegetables, grilled meats, and as a dipping sauce for fries or vegetable platters. Try spreading it on toasted bread for a simple bruschetta, or use it as a base for a uniquely flavored potato salad. The versatility of aioli truly shines through in various applications, making it a must-have in your condiment repertoire.
Ingredients
Gather your ingredients to create this delightful aioli.
Aioli Ingredients
- 3 garlic cloves, minced
- 1 large egg yolk
- 1 cup of olive oil
- 1 tablespoon of lemon juice
- Salt to taste
Once all ingredients are ready, you can begin making the aioli!
Instructions
Follow these simple steps to prepare your aioli.
Combine Ingredients
In a mixing bowl, whisk together the minced garlic and egg yolk until well blended.
Emulsify
While continuously whisking, slowly drizzle in the olive oil until the mixture is thick and creamy.
Add Flavors
Stir in the lemon juice and season with salt to taste.
Serve
Transfer the aioli to a serving bowl or spread it directly on your sandwiches!
Your homemade aioli is now ready to enhance any sandwich!
Pro Tips
- For a spicier kick, consider adding a pinch of cayenne pepper or substitute some of the olive oil with infused oils.
Ingredient Variations and Substitutions
If you're looking to make your aioli vegan, you can substitute the egg yolk with aquafaba—the liquid from a can of chickpeas. Use about three tablespoons of aquafaba in place of the egg yolk, and follow the same emulsification process. You’ll end up with a creamy aioli without any animal products. This is not only a clever workaround but also friendly for those with egg allergies.
Another great variation is using flavored oils, such as roasted garlic or chili-infused olive oil, which can add unexpected flavor dimensions to your aioli. Just remember that the flavor of the oil used will have a strong impact on the final outcome, so choose one that complements your main ingredients well.
Troubleshooting Common Issues
If your aioli doesn’t emulsify and looks separated, don’t worry. This is a common issue that can be fixed. Simply start with a new egg yolk in a clean bowl, and slowly whisk the separated aioli into the new yolk, just like you would when making mayonnaise. This method can salvage your failed attempt, saving both time and ingredients.
Another potential issue is the garlic becoming too overwhelming. If you find that your aioli has too strong of a garlic flavor after preparation, incorporating a bit more lemon juice or a touch of sugar can help balance it out. Taste as you go, and adjust accordingly; remember, the beauty of homemade aioli lies in its adaptability!
Questions About Recipes
→ Can I make aioli without raw eggs?
Yes, you can use store-bought mayonnaise as a base to avoid raw eggs.
→ How long can I store aioli?
It’s best consumed fresh, but you can store it in the refrigerator for up to a week.
→ Can I add herbs to the aioli?
Definitely! Fresh herbs like basil or parsley can add a delightful flavor.
→ How do I adjust the garlic flavor?
You can add more or less garlic depending on your preference for strong flavors.
Aioli Recipe for Sandwiches
What You'll Need
Aioli Ingredients
- 3 garlic cloves, minced
- 1 large egg yolk
- 1 cup of olive oil
- 1 tablespoon of lemon juice
- Salt to taste
How-To Steps
In a mixing bowl, whisk together the minced garlic and egg yolk until well blended.
While continuously whisking, slowly drizzle in the olive oil until the mixture is thick and creamy.
Stir in the lemon juice and season with salt to taste.
Transfer the aioli to a serving bowl or spread it directly on your sandwiches!
Extra Tips
- For a spicier kick, consider adding a pinch of cayenne pepper or substitute some of the olive oil with infused oils.
Nutritional Breakdown (Per Serving)
- Calories: 180 kcal
- Total Fat: 20g
- Saturated Fat: 3g
- Cholesterol: 30mg
- Sodium: 45mg
- Total Carbohydrates: 1g
- Dietary Fiber: 0g
- Sugars: 0g
- Protein: 1g