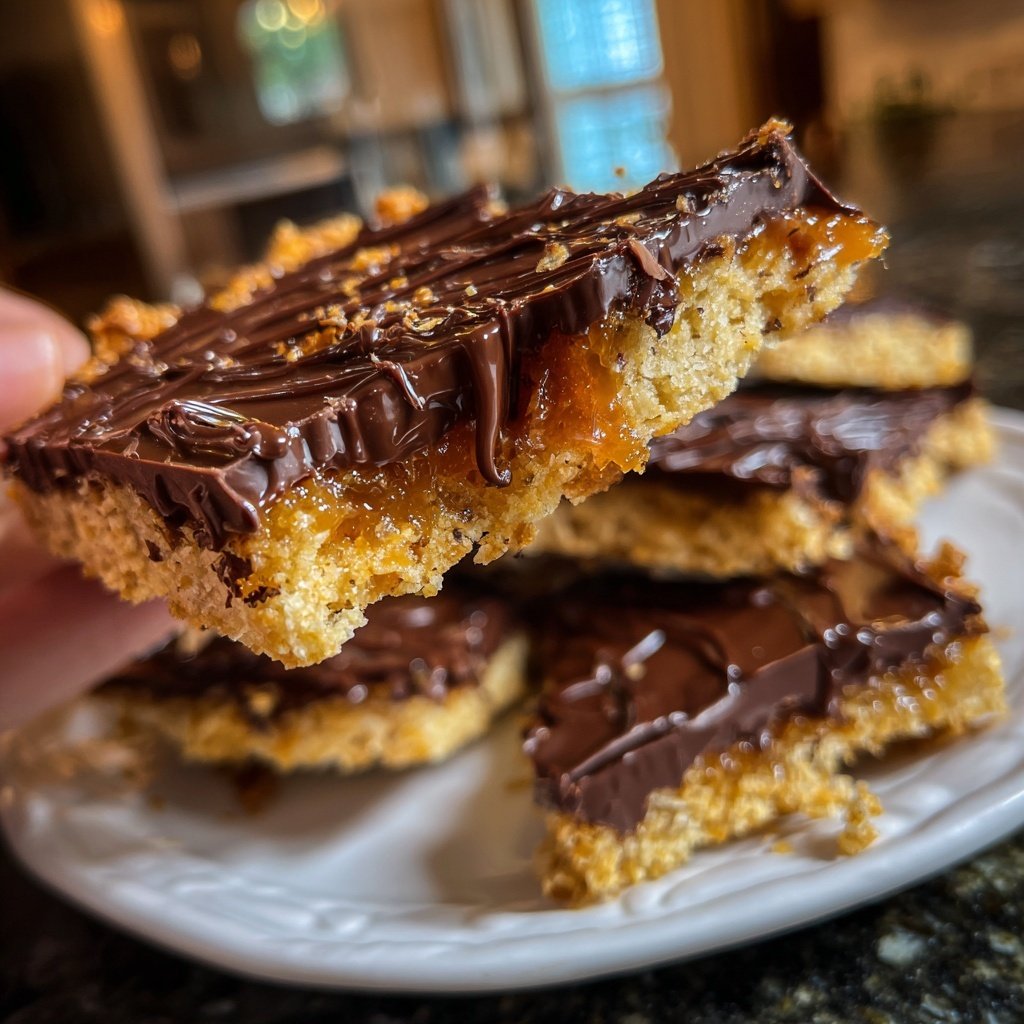
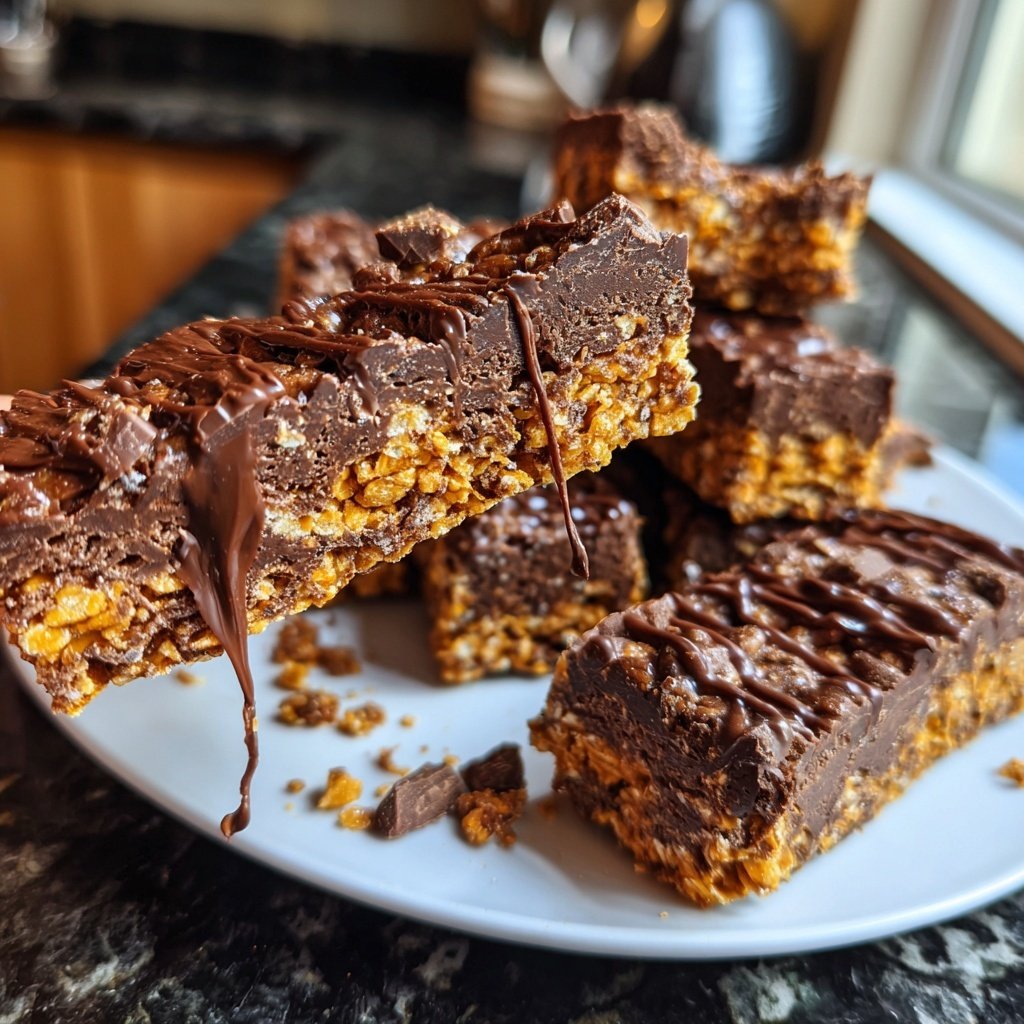
Chocolate Honeycomb Bars
Highlighted under: Home Baked Bliss
I recently discovered the magic of Chocolate Honeycomb Bars, and I couldn't be more thrilled to share this recipe with you! The enchanting combination of rich chocolate and crispy honeycomb creates a delightful texture that is simply irresistible. Whether you're looking for a sweet treat to enjoy at home or something special to share at gatherings, these bars are sure to impress. Plus, making them is easier than you might think, taking just a little bit of patience and a few simple ingredients!
When I first made Chocolate Honeycomb Bars, I was surprised by how the crispy honeycomb added such a unique twist to the traditional chocolate treat. The key is to allow the honeycomb to fully set before coating it with chocolate; this ensures the perfect crunch we all love. I also found that using high-quality chocolate really enhances the flavor, making each bite a delightful experience.
Another fun discovery was how accessible these bars are for a home baker. I experimented with different flavorings, such as orange zest, and found that a hint of citrus can elevate the chocolate even more. Remember to let them cool completely after pouring the chocolate for the best results – patience is key!
You'll Love These Bars Because
- Rich chocolate flavor paired with crispy honeycomb texture
- A fun and satisfying project to make with friends or family
- Perfect for sharing at parties or enjoying as a sweet indulgence
Understanding Honeycomb
Honeycomb adds a unique crispy texture to these bars and contributes a wonderful, caramel-like flavor. The key to making perfect honeycomb lies in achieving the right sugar temperature. You want the sugar and golden syrup mixture to reach a deep golden color, which indicates it has reached around 150°C (300°F). If it doesn't get hot enough, the honeycomb may not rise properly, while overheating can lead to a bitter taste. Always have your baking soda ready to stir in for that delightful foam.
Allow the honeycomb to cool completely before crushing it. This is essential, as warm honeycomb can become sticky and difficult to handle. Once cooled, I recommend using a rolling pin or a food processor to crush it into small, bite-sized pieces. This ensures an even distribution throughout the bars, providing maximum texture contrast with the smooth chocolate layer.
Melting Chocolate Like a Pro
When melting dark chocolate and butter, use a heatproof bowl set over a saucepan of simmering water (a double boiler). This method prevents direct heat from scorching the chocolate. Stir continuously until the mixture is glossy and smooth, taking care not to let any water get into the chocolate, which can seize it. If you prefer a microwave method, melt in short bursts of 20 seconds, stirring in between until smooth.
Allow the melted chocolate to cool slightly before mixing with the other ingredients. Cooling helps avoid melting the honeycomb and biscuits, preserving their textures. You want it to be warm enough to combine easily but not so hot that it changes the consistency of your mix. This step is crucial for achieving the perfect bar structure.
Storing and Serving Your Bars
After cutting the bars, store them in an airtight container in the refrigerator to maintain their shape and crunch. These bars will keep well for about a week, although I suspect you might finish them quicker! For longer storage, you can freeze them; just ensure you wrap each bar individually to prevent sticking. Thaw them in the refrigerator for a few hours before enjoying, as this helps them retain their texture.
These Chocolate Honeycomb Bars can be served on their own or paired with a scoop of vanilla ice cream for an indulgent dessert. For an extra touch, drizzle a little melted chocolate over the top or sprinkle with finely chopped nuts to elevate both presentation and flavor. They make a fantastic contribution to any dessert table or potluck!
Ingredients
Gather the following ingredients to make your Chocolate Honeycomb Bars:
Ingredients
- 200g dark chocolate, chopped
- 100g honeycomb candy, crushed
- 100g unsalted butter
- 100g granulated sugar
- 50ml golden syrup
- 200g digestive biscuits, crushed
- Pinch of salt
- Optional: A pinch of sea salt for topping
Mix all the ingredients thoroughly for a delicious blend of flavors!
Instructions
Follow these steps to create your Chocolate Honeycomb Bars:
Prepare the Honeycomb
In a saucepan over medium heat, combine the sugar and golden syrup. Stir until dissolved, then increase the heat. Allow the mixture to boil until it turns a golden color. Remove from heat and quickly stir in baking soda. The mixture will foam up. Pour onto a parchment-lined baking sheet and let it cool completely.
Melt the Chocolate
In a separate bowl, melt the dark chocolate and butter together until smooth. Allow it to cool slightly before use.
Combine Ingredients
Once the honeycomb has cooled and set, crush it into small pieces. In a large bowl, mix together the crushed digestive biscuits, salt, and crushed honeycomb. Pour the melted chocolate over the mixture and stir until well combined.
Set the Bars
Transfer the mixture into a lined baking dish, pressing it down to ensure it holds together. Refrigerate for at least 2 hours until fully set. Cut into bars and serve with a sprinkle of sea salt if desired.
Enjoy your delicious homemade Chocolate Honeycomb Bars!
Pro Tips
- For an extra crunch, try adding nuts or seeds to the mixture. Ensure your chocolate is tempered for a glossy finish.
Ingredient Substitutions
If you’re looking to adapt this recipe for dietary preferences, consider replacing dark chocolate with a dairy-free option to create a vegan-friendly version. Dark chocolate chips are widely available in such varieties, and they'll melt just as well. For those who need a gluten-free option, swap the digestive biscuits for gluten-free biscuits or even alternative ingredients like crushed almonds or gluten-free oat cookies for a unique texture.
For a different flavor profile, you could introduce flavors into the chocolate layer. Adding a teaspoon of espresso powder can enhance the chocolate's richness, while a splash of peppermint extract will give your bars a festive twist. Just be careful not to use too much, as these flavors can easily overwhelm the chocolate.
Troubleshooting Tips
If the honeycomb doesn’t rise properly, check the baking soda measurement. If too little is used, it won't create the characteristic bubbles. On the other hand, too much baking soda can lead to a bitter taste. When handling the melted chocolate, if it cools too much and starts to set, gently reheat it utilizing the double boiler method, being vigilant not to overheat.
If your bars are too soft after cutting, they may not have set long enough in the refrigerator. Ensure they chill for the full 2 hours, or if you're in a warmer environment, consider chilling them longer. Adjusting the storage conditions of your bars by keeping them in a cooler part of your fridge can also help maintain their firmness.
Questions About Recipes
→ Can I use milk chocolate instead of dark chocolate?
Yes, but be aware that it will be sweeter and the flavor profile will change.
→ How long will the bars last?
They can be stored in an airtight container in the fridge for up to a week.
→ Can I use homemade honeycomb?
Absolutely! Homemade honeycomb adds a personal touch and you can control the sweetness.
→ Is this recipe gluten-free?
You can make it gluten-free by using gluten-free biscuits.
Chocolate Honeycomb Bars
Created by: Veronica Miles
Recipe Type: Home Baked Bliss
Skill Level: Intermediate
Final Quantity: 12 bars
What You'll Need
Ingredients
- 200g dark chocolate, chopped
- 100g honeycomb candy, crushed
- 100g unsalted butter
- 100g granulated sugar
- 50ml golden syrup
- 200g digestive biscuits, crushed
- Pinch of salt
- Optional: A pinch of sea salt for topping
How-To Steps
In a saucepan over medium heat, combine the sugar and golden syrup. Stir until dissolved, then increase the heat. Allow the mixture to boil until it turns a golden color. Remove from heat and quickly stir in baking soda. The mixture will foam up. Pour onto a parchment-lined baking sheet and let it cool completely.
In a separate bowl, melt the dark chocolate and butter together until smooth. Allow it to cool slightly before use.
Once the honeycomb has cooled and set, crush it into small pieces. In a large bowl, mix together the crushed digestive biscuits, salt, and crushed honeycomb. Pour the melted chocolate over the mixture and stir until well combined.
Transfer the mixture into a lined baking dish, pressing it down to ensure it holds together. Refrigerate for at least 2 hours until fully set. Cut into bars and serve with a sprinkle of sea salt if desired.
Extra Tips
- For an extra crunch, try adding nuts or seeds to the mixture. Ensure your chocolate is tempered for a glossy finish.
Nutritional Breakdown (Per Serving)
- Calories: 380 kcal
- Total Fat: 26g
- Saturated Fat: 15g
- Cholesterol: 195mg
- Sodium: 85mg
- Total Carbohydrates: 32g
- Dietary Fiber: 3g
- Sugars: 24g
- Protein: 6g