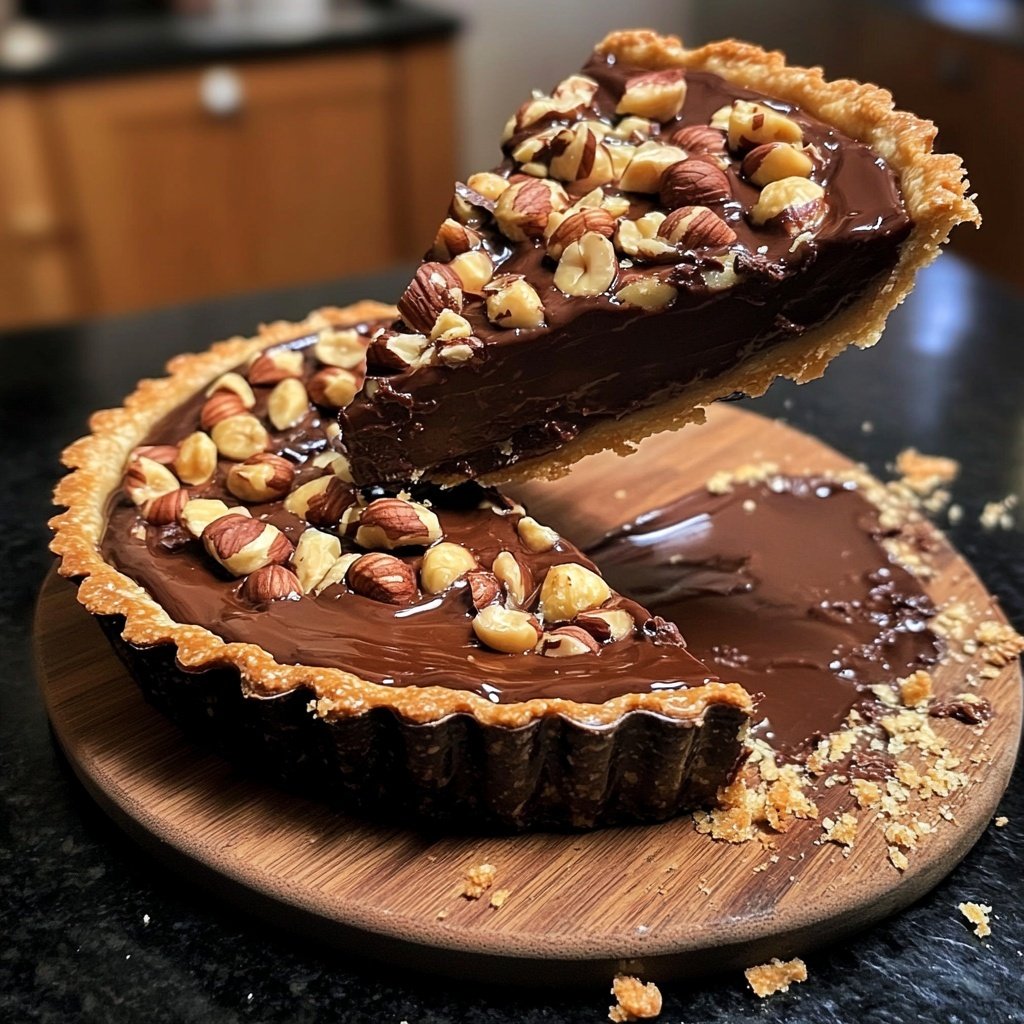
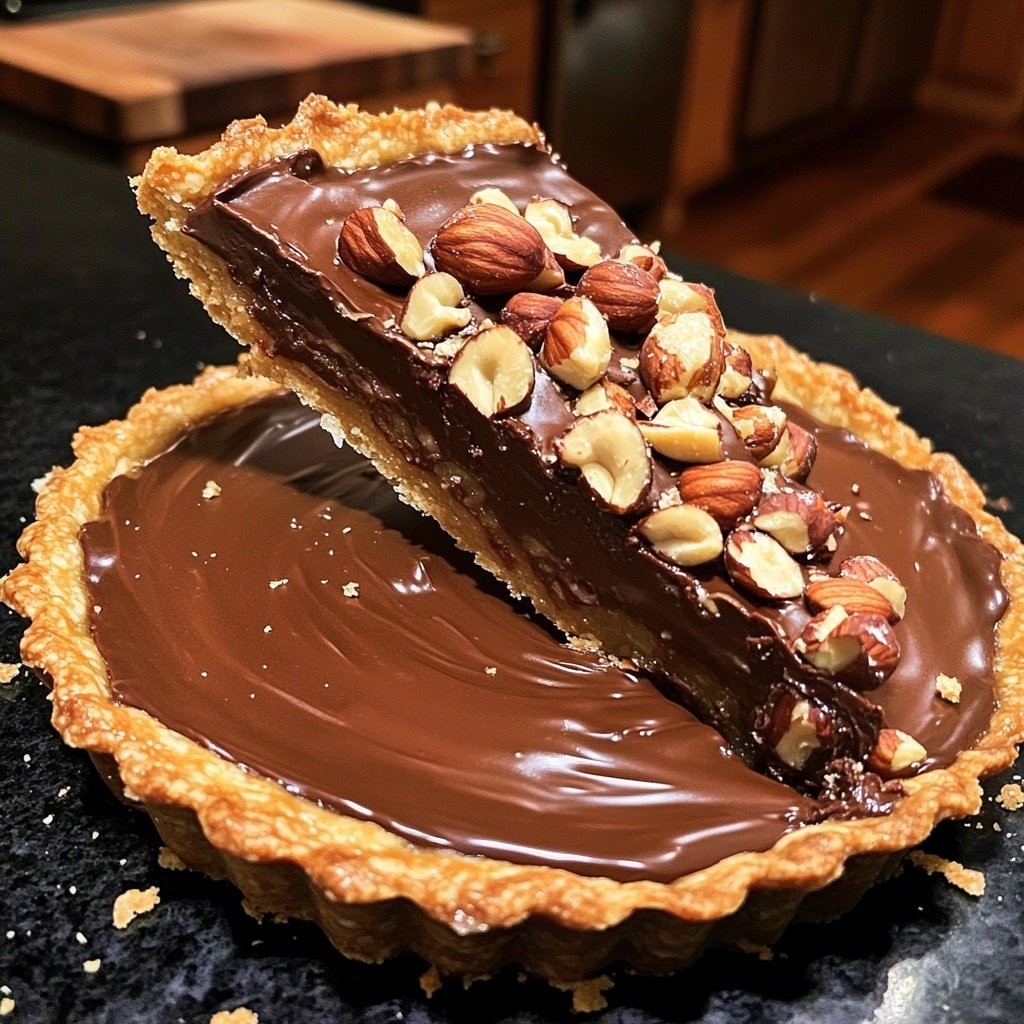
Chocolate Hazelnut Tart
Highlighted under: Home Baked Bliss
I absolutely adore baking this Chocolate Hazelnut Tart for any special occasion. The rich chocolate filling combined with the nutty flavor of toasted hazelnuts creates a dessert that feels both luxurious and comforting. Each slice is decadent and satisfying, making it perfect to share with loved ones or keep all to yourself as a special treat. With a buttery tart crust that melts in your mouth, this is a recipe that quickly becomes a favorite. Trust me, once you take a bite, you’ll understand its irresistible charm.
When I first baked this Chocolate Hazelnut Tart, I was inspired by my love for both chocolate and nuts. I experimented with different ratios of chocolate to cream and found the perfect balance, achieving a silky filling that feels luxurious without being overly sweet. Toasting the hazelnuts before adding them not only enhances their flavor but also adds a delightful crunch.
One of my favorite tips is to chill the tart in the refrigerator before serving. This allows the flavors to meld beautifully and makes slicing so much easier. Each slice reveals a luscious filling that is sure to impress anyone lucky enough to enjoy it!
Why You'll Love This Chocolate Hazelnut Tart
- Rich chocolate flavor paired with fresh toasted hazelnuts
- Creamy texture that melts in your mouth
- Perfect for celebrations or as a sweet indulgence
Key Techniques for a Successful Tart
When creating the tart crust, the method of mixing is crucial to achieving a tender, crumbly texture. Be careful not to overwork the dough once the ingredients are combined. You want it to come together and remain cool; working too much can activate the gluten in the flour, leading to a tougher crust. If you notice the dough is too warm while pressing it into the pan, pop it back into the fridge for a few minutes to ensure a flaky finish.
While baking the crust, using pie weights is essential to prevent it from puffing up. If you don’t have weights, dried beans or rice can serve as a perfect substitute, but make sure to cover the crust with parchment to avoid any sticking. After the initial baking, watch closely for those golden edges—this will indicate that your crust is perfectly baked and ready to hold in that rich chocolate filling.
Understanding the Chocolate Filling
The quality of the dark chocolate you choose plays a significant role in the flavor of the tart. Opt for chocolate with at least 60% cocoa content for an intense, rich flavor. When melting chocolate with heavy cream, pouring the hot cream over the chopped chocolate allows it to melt gently. Stir until you achieve a velvety consistency; if the mixture appears grainy, you can gently reheat it using a double boiler method to rescue the texture.
When incorporating the eggs into the filling, it’s crucial to temper them by adding a small amount of the warm chocolate mixture first and stirring. This prevents the eggs from curdling when combined. Ensure that your filling is fully mixed and silky smooth before pouring it over the hazelnuts; this guarantees an even consistency throughout the tart, leading to a delightful eating experience.
Serving and Storing Your Tart
Once the tart has chilled, slicing can be tricky due to the creamy filling. To get clean slices, run a sharp knife under hot water, then dry it off before cutting into the tart. This technique helps to melt through the chocolate layer for smooth edges. Serving it with a dollop of whipped cream not only adds a lovely contrast in texture but also balances the richness of the chocolate.
If you have leftovers, store the tart in the refrigerator, covered loosely with plastic wrap. It will remain delicious for about 3 days. For longer storage, consider freezing the tart—just be sure to tightly wrap it in plastic wrap followed by aluminum foil to prevent freezer burn. When you're ready to enjoy it again, let it thaw in the fridge overnight for the best results.
Ingredients
Gather all the ingredients before you start for a smoother baking process.
For the tart crust
- 1 1/4 cups all-purpose flour
- 1/2 cup unsalted butter, softened
- 1/4 cup powdered sugar
- 1 large egg yolk
- 1/4 teaspoon salt
For the filling
- 1 cup heavy cream
- 8 ounces dark chocolate, chopped
- 1/2 cup hazelnuts, toasted and roughly chopped
- 1/4 cup granulated sugar
- 1 teaspoon vanilla extract
- 2 large eggs
Be sure to prepare your tart crust and filling ahead of time for the best results.
Instructions
Follow these steps carefully to ensure your tart turns out perfectly.
Make the tart crust
In a mixing bowl, combine the flour, softened butter, powdered sugar, egg yolk, and salt. Mix until the dough comes together. Press the dough into a tart pan evenly across the bottom and up the sides. Prick the bottom with a fork and chill for 15 minutes.
Pre-bake the crust
Preheat your oven to 350°F (175°C). Line the chilled crust with parchment paper and fill it with pie weights or dried beans. Bake for 15 minutes, then remove the weights and parchment and bake for an additional 5–7 minutes until lightly golden. Let cool.
Prepare the filling
Heat the heavy cream in a saucepan until just simmering. Pour the hot cream over the chopped dark chocolate in a bowl, letting it sit for a minute. Stir until smooth, then add the sugar, vanilla extract, and eggs. Mix until fully combined.
Assemble and bake the tart
Spread the toasted hazelnuts evenly over the baked tart crust. Pour the chocolate mixture over the hazelnuts and tap gently to remove air bubbles. Bake in the oven for 20 minutes until just set. Allow it to cool before chilling in the refrigerator for at least 2 hours.
Serve and enjoy
Once chilled, slice the tart and serve it with a dollop of whipped cream or fresh berries, if desired. Enjoy your delicious creation!
After baking, allow the tart to set properly for the best results. It’s worth the wait!
Pro Tips
- For an extra touch of flavor, consider adding a pinch of sea salt on top of the tart before serving, which beautifully enhances the sweetness of the chocolate.
Ingredient Substitutions
If you're looking to make a gluten-free version of the tart, simply replace the all-purpose flour with a gluten-free 1:1 baking flour. Be sure it includes xanthan gum for proper binding. Similarly, if you want a dairy-free filling, you can substitute heavy cream with full-fat coconut milk; this will still yield a rich texture, and the flavor complements chocolate beautifully.
For added variation in flavor, consider mixing in a tablespoon of espresso powder into the chocolate filling. This will enhance the chocolate flavor remarkably without being overly coffee-flavored. Additionally, you could replace hazelnuts with pecans or walnuts for a different nutty twist if you prefer.
Variations to Try
Feeling adventurous? You can add a layer of fruit to your tart by placing fresh raspberries or strawberries over the hazelnuts before pouring in the chocolate mixture. This adds not only flavor but a brilliant pop of color. Another delicious option is to experiment with an orange zest infusion in the filling; simply add it to the hot cream and chocolate mixture for a citrusy flavor that elevates your tart.
For a more indulgent take, top your tart with a drizzle of caramel sauce or a sprinkle of flaky sea salt just before serving. The combination of rich chocolate and sweet, crunchy toppings heightens the overall dessert experience, ensuring that each bite is unforgettable.
Questions About Recipes
→ Can I use milk chocolate instead of dark chocolate?
Yes, but keep in mind that the flavor will be sweeter and less rich.
→ How long can I store this tart?
The tart can be stored in the refrigerator for up to a week.
→ Can I make this tart gluten-free?
You can substitute the all-purpose flour with a gluten-free blend suitable for baking.
→ What can I serve with the tart?
It pairs wonderfully with fresh fruit, whipped cream, or vanilla ice cream.
Chocolate Hazelnut Tart
Created by: Veronica Miles
Recipe Type: Home Baked Bliss
Skill Level: Intermediate
Final Quantity: 8 servings
What You'll Need
For the tart crust
- 1 1/4 cups all-purpose flour
- 1/2 cup unsalted butter, softened
- 1/4 cup powdered sugar
- 1 large egg yolk
- 1/4 teaspoon salt
For the filling
- 1 cup heavy cream
- 8 ounces dark chocolate, chopped
- 1/2 cup hazelnuts, toasted and roughly chopped
- 1/4 cup granulated sugar
- 1 teaspoon vanilla extract
- 2 large eggs
How-To Steps
In a mixing bowl, combine the flour, softened butter, powdered sugar, egg yolk, and salt. Mix until the dough comes together. Press the dough into a tart pan evenly across the bottom and up the sides. Prick the bottom with a fork and chill for 15 minutes.
Preheat your oven to 350°F (175°C). Line the chilled crust with parchment paper and fill it with pie weights or dried beans. Bake for 15 minutes, then remove the weights and parchment and bake for an additional 5–7 minutes until lightly golden. Let cool.
Heat the heavy cream in a saucepan until just simmering. Pour the hot cream over the chopped dark chocolate in a bowl, letting it sit for a minute. Stir until smooth, then add the sugar, vanilla extract, and eggs. Mix until fully combined.
Spread the toasted hazelnuts evenly over the baked tart crust. Pour the chocolate mixture over the hazelnuts and tap gently to remove air bubbles. Bake in the oven for 20 minutes until just set. Allow it to cool before chilling in the refrigerator for at least 2 hours.
Once chilled, slice the tart and serve it with a dollop of whipped cream or fresh berries, if desired. Enjoy your delicious creation!
Extra Tips
- For an extra touch of flavor, consider adding a pinch of sea salt on top of the tart before serving, which beautifully enhances the sweetness of the chocolate.
Nutritional Breakdown (Per Serving)
- Calories: 380 kcal
- Total Fat: 26g
- Saturated Fat: 15g
- Cholesterol: 195mg
- Sodium: 85mg
- Total Carbohydrates: 32g
- Dietary Fiber: 3g
- Sugars: 24g
- Protein: 6g